Subscription widget customization
If you wish to know how to change the design of the Seal subscriptions widget, here is a quick tutorial on how to customize the widget, to match your desired styling.
1.) general subscription widget styling:
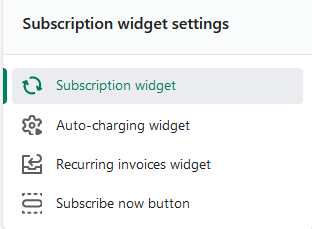
When you open the Seal Subscriptions app, navigate to: Seal Subscriptions > Settings > Subscription widget.
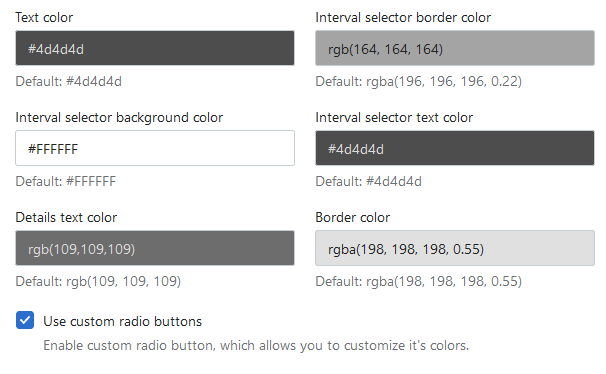
There, you should be able to edit the subscription widget colors to your liking.
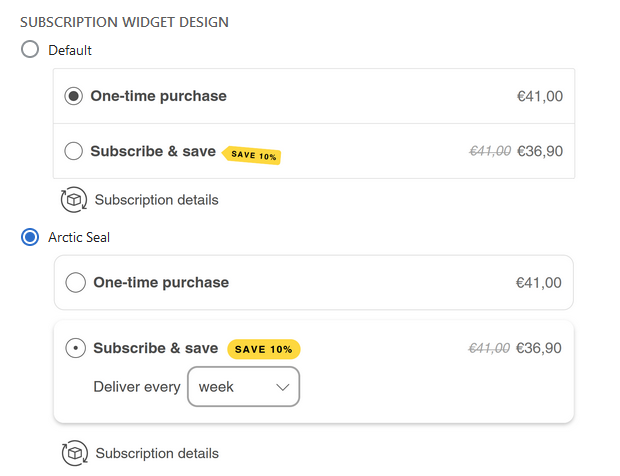
Bellow the color options, you should be able to see two of our premade widget designs, from which you can choose. Of course, those are just starting templates, which you can customize further if you would like.
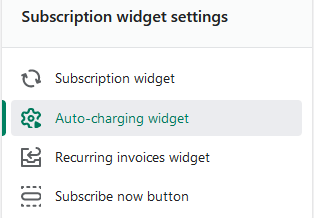
2.) Auto-charging subscription styling options
If you take a step back and choose the “Auto-charging widget” option from the menu, you should be able to edit the changes, specific to only the auto-charging subscription widget.
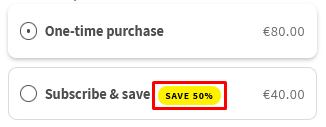
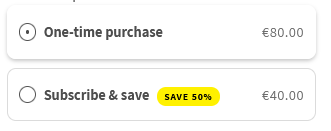
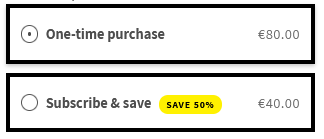
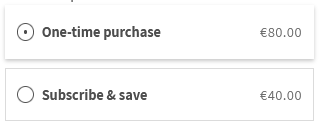
The first customization option, you can find there, is which option is chosen by default, one-time purchase or the subscription option/s.

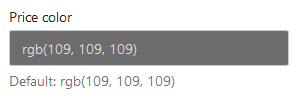
The next option in this tab, is the price color of the auto-charging subscription widget.
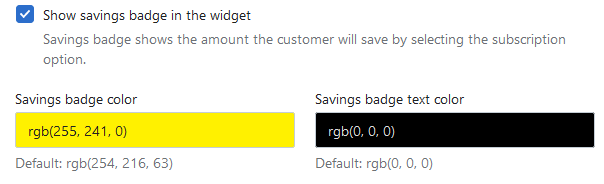
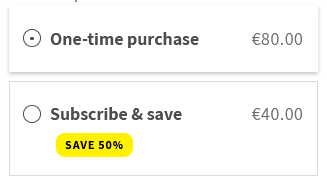
After that, you should be able to see the option, that allows you to show the “Savings badge” on the auto-charging subscription widget and edit it's colors.
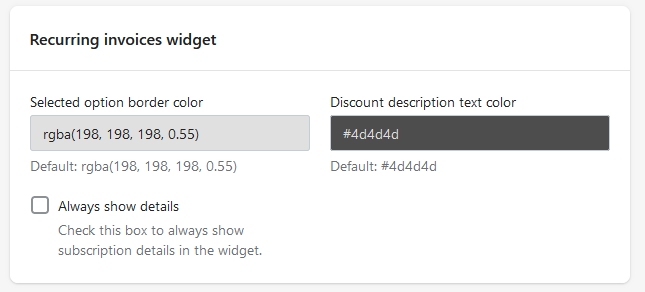
3.) Recurring invoices subscription widget
If you again take a step back, you can choose to edit the “recurring invoices subscription widget”. This widget only has “Selected option border color” and “Discount description text color” options.
4.) Styling the widget using CSS
If you wish to edit the widget styling further, to match the design of your theme for an example, you should be able to do so, by editing the CSS within the app settings.
The CSS editor can be found, by going to: Seal Subscriptions > Settings > General Settings > Advanced > Custom CSS for widget.
Editing the CSS of the widget is generally only advised, if you have experience with CSS, so it is recommended to contact your store developer or hire a Shopify Expert, if you have no prior knowledge of CSS.
Tips for editing the widget using CSS
Here are some simple modification tips, you can use, if you wish to edit the widget.
1.) widget border radius
If you wish to edit the widget border, this can be done, by simply adding the following line to the text editor:
.sls-option-container.seal-table {
border-radius: 10px;
}
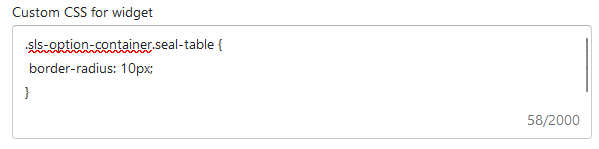
if you wish for the border to be rounder, simply raise the number of pixels to something like 20px. If you wish for the border to be less round, lower the number of pixels to something like 5px.
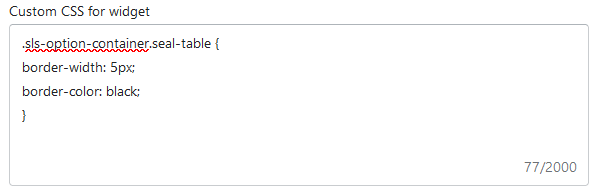
2.) Border color and size
.sls-option-container.seal-table {
border-width: 5px;
border-color: black;
}
3.) font size
If you wish to change the font size, you should be able to add the following code to the text editor:
.sls-option-container.seal-table {
font-size: 20px;
}
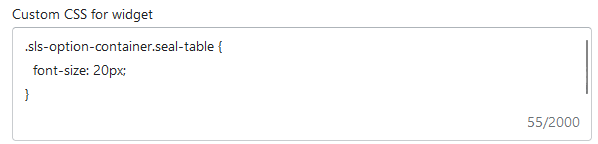
If the new font size does not fit your needs, just raise or lower the number of pixels in the text editor.
4.) Hiding elements from the widget
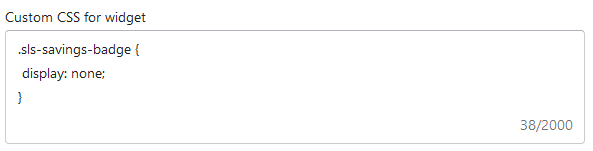
Hiding the elements from the widget should be fairly simple. Simply target the correct CSS class and set it to hide like in my example bellow:
.sls-savings-badge {
display: none;
}
If you create any CSS customization by yourself and it does not apply to your subscription widget, It would be best either to contact your store developer or the Seal Subscription team.