How to change the design of the subscription widget in Seal Subscriptions
Seal Subscriptions is an incredible tool that allows you to customize the subscription experience for your customers in many ways. One of the most important aspects, which I'm sure you'll find interesting, is the look and design of the subscription widget on the product page. In this blog post, we will cover how you can achieve just that.
Widget structure
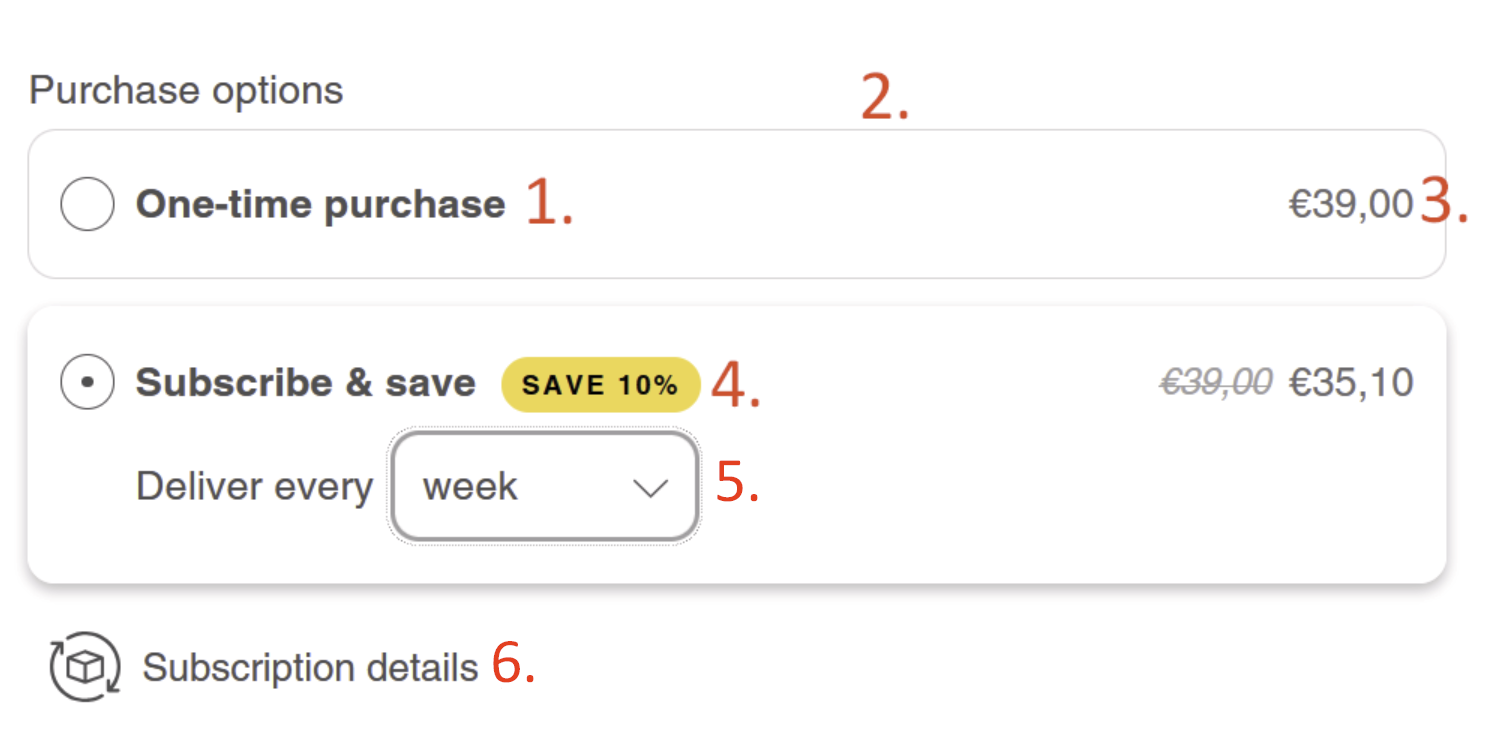
The seal subscription widget can be broken down in to 7 key components
- Selling plan label
- Subscription widget border
- Subscription price & strike price
- Savings badge
- Subscription interval selector
- Subscription details
You can view how each number corresponding to a component in the screenshot below:

Most common changes
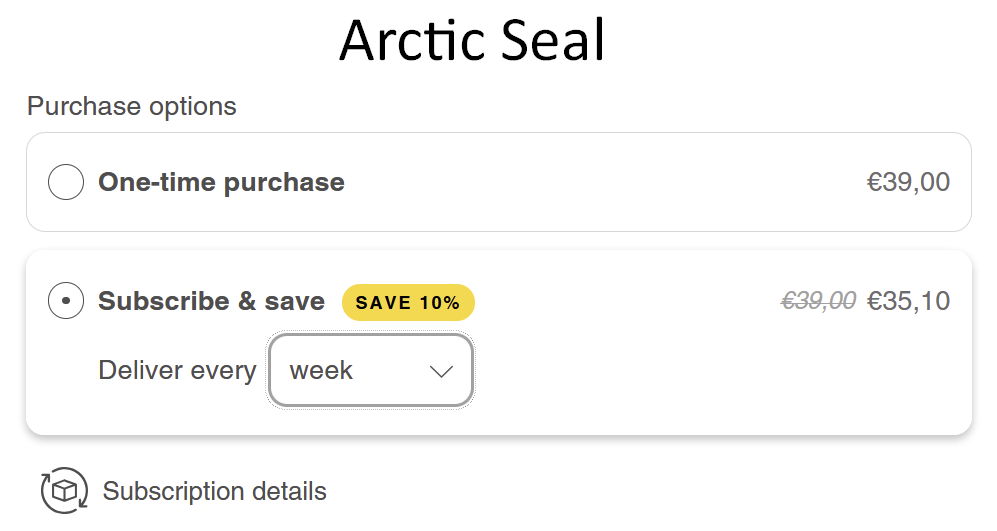
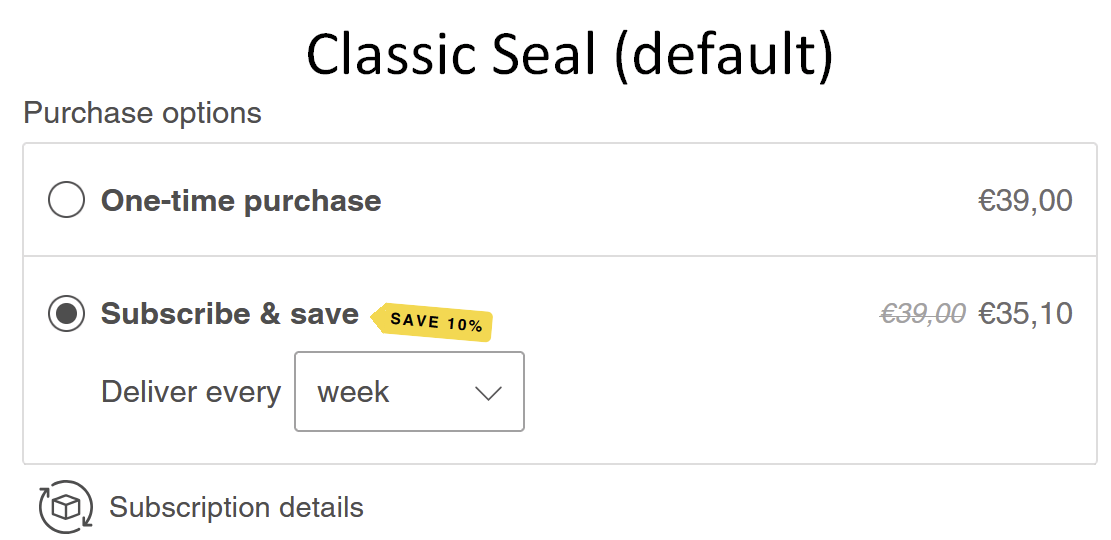
The most simple changes can be made right within the Seal Subscriptions app. By default we offer two designs: Classic (default) and Arctic Seal (newer design). The newer design offers rounded edges, shadows and a few more changes while the classic does not have these and has square edges and no shadows for a classier look.
You can also change the colors by going to: Seal Subscriptions > Settings > Subscription widget > Subscription widget & Auto-charging widget
Changing the colors of the elements in the subscription widget can be an excellent way of maintaining your design language across your entire Shopify store.


Tip: Some merchants prefer to remove section number 6 (Subscription Details). If you fall into this group, you can do so by going to: Seal Subscriptions > Settings > Subscription Widget > Auto-Charging Widget > Show Additional Subscription Info in the Widget > Disable.
Going beyond what is possible
If you have an idea, concept, or reference for how you'd like your subscription widget to look—beyond what we've previously discussed—we recommend using CSS to implement the necessary changes to achieve the exact look you're envisioning. You can find the CSS editor by going to: Seal Subscriptions > Settings > General Settings > Advanced Settings > Custom CSS for Customer Portal.
Keep in mind that making these changes will require some CSS knowledge. If this is not something you're comfortable with, we recommend consulting with a Shopify expert. You can find one here: https://www.shopify.com/partners/directory.

Conclusion
By following these steps, you'll be able to customize and style your Seal Subscription widget to perfectly match your brand's look and feel. Whether you're adding unique styling, or fine-tuning the details, the process is designed to be simple and flexible. With Seal Subscriptions, creating a personalized, seamless experience for your customers is easier than ever, ensuring that your subscription offerings are as visually appealing as they are functional. As you continue to tweak and refine your widget, you'll uncover new ways to enhance customer engagement and streamline your business for sustained growth.
Happy styling and subscription management! 🎨