How to translate Seal Subscriptions [UPDATED]
Customers all over the world enjoy viewing content in their native language. Translating your store's content can lead to more sales because your international customers can better understand your marketing, product details, shipping, and return policies. Following this guide, you'll learn how to translate the text in Seal Subscriptions to foreign languages to allow localization.
If you need to translate other elements in your Shopify store, you can find the resources on how to do so here.
Getting started
To translate most text found in the Seal Subscriptions app, simply follow these steps:
- Open Seal Subscriptions and click on “Settings.”
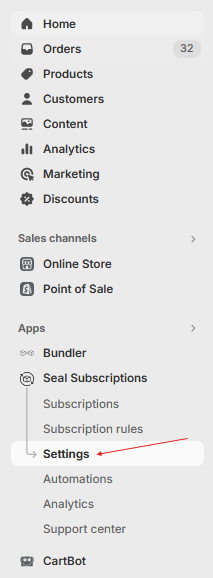
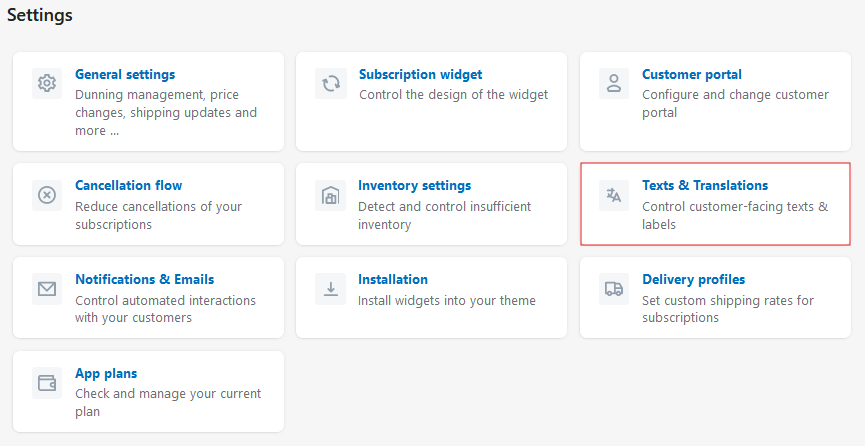
- Click on “Texts & Translations.”
- At this stage, simply select the language you'd like to add the translated text to and start editing each section.
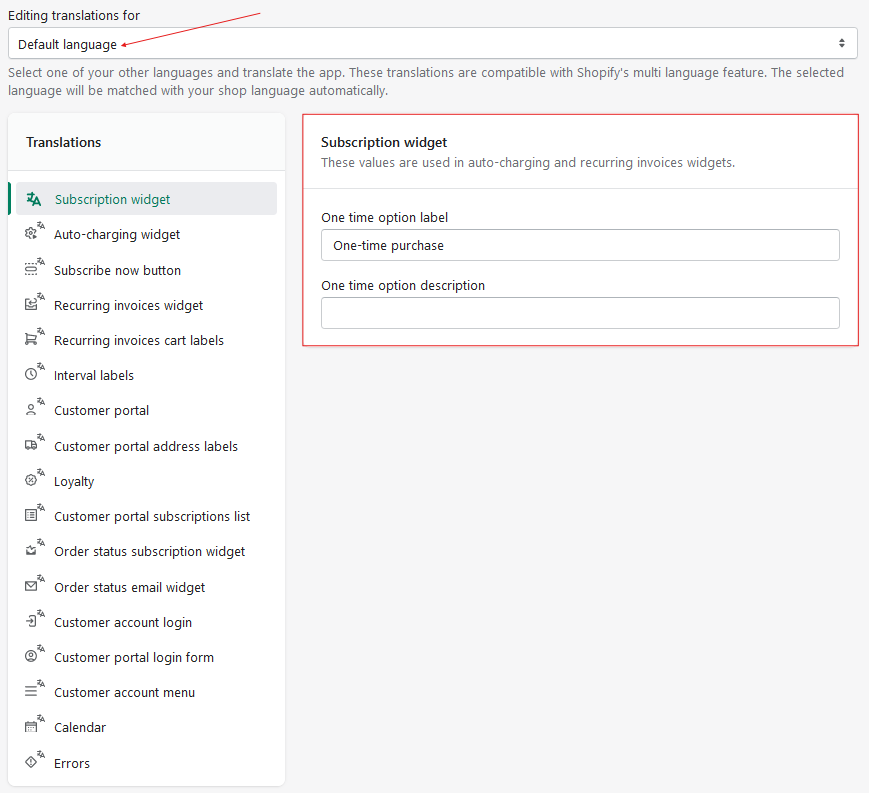
- Click on “Save translations” after you are done and that's it!

Additional translations
While you can translate most of the app using the above instructions, things like: rule name, selling plan name, description cannot be edited using that method, since it is manually created by the user (you).
You will need to install an additional app like Weglot, Shopify's Translate & Adapt app, Langify, etc…
Weglot
Weglot is a fan favorite app, used by many users across multiple platforms like Shopify, WordPress, Webflow. It can also be used to translate additional elements of the subscription widget, which cannot be done with the above guide.
PROS AND CONS OF USING WEGLOT
PROS
- Free plan available
- 30 day free trial option with no credit card required
- Works with latest themes
- Automatic and instantaneous translations
CONS
- Only 1 translated language on the free plan
- Only 2000 translated words
- Need 3rd party website to access translations
HOW TO INSTALL
1. Find Weglot on the Shopify App Store
Search for Weglot inside Shopify’s App Store, click Install.

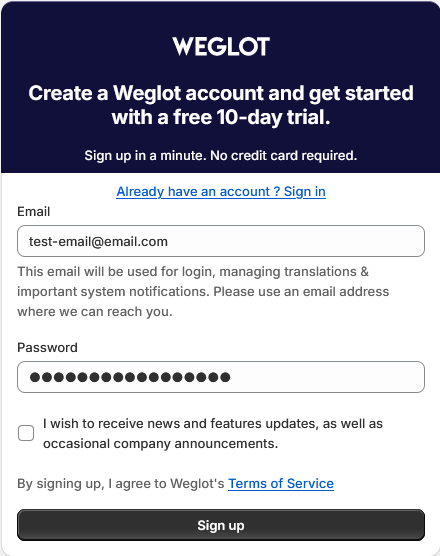
2. Create a Weglot Account
The next step is to create a Weglot account (this is where you’ll manage your store’s translations). It’s also at this point that you can start your 10-day free trial.
3. Add Your Languages
Next, add the original language of your website and the new language you want to add to your Shopify store.
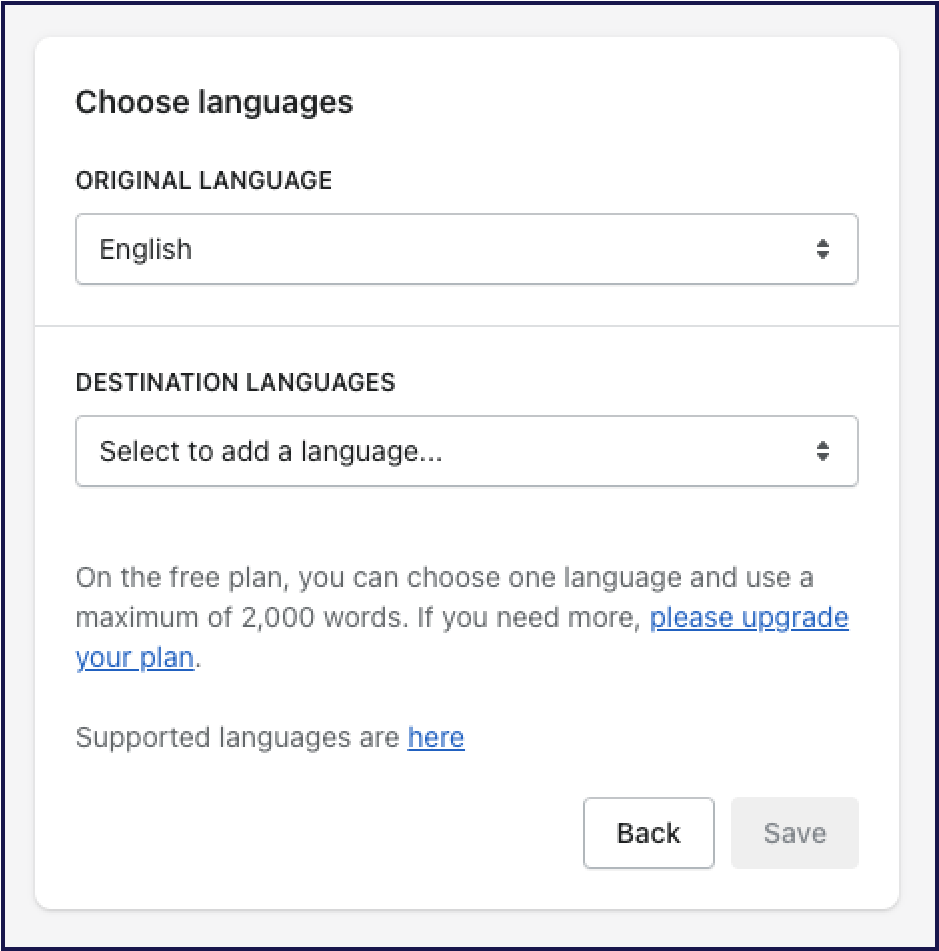
4. Your Shopify Store is Now Multilingual!
That’s it! Your Shopify store is now available in multiple languages, in the next section, we will go over how to set it up to translate Seal Subscriptions as well.
HOW TO TRANSLATE SEAL SUBSCRIPTIONS USING WEGLOT
We previously went over how to translate most of our for almost every text in our app (including emails, customer portal and subscription widgets) with our internal settings.There are some exceptions, like the texts that you set up in the auto-charging subscription rules. These can be easily translated using Weglot.
Below, you can find a step-by-step guide on doing so:
- Make sure you have the app installed in your store and a Weglot account created.
- Select the destination language.
- The widget and the entire site should automatically be translated!
CUSTOMIZE TRANSLATIONS
While Weglot automatically translates your store, some text can be interpreted incorrectly or might be just straight up wrong.
To fix these issues, follow the steps below:
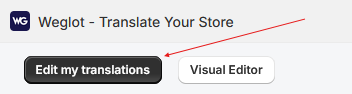
- Go to your Shopify Admin and open Weglot.
- Click on “Edit translations”.
- A new window will open on the Weglot website. At this stage, select the language you'd like to edit.

- After you open the translation editor, simply click on the text you'd like to edit and start editing.

- That's it!
Shopify Translate & Adapt
Merchants appreciate this free app for its ability to translate online stores into multiple languages, potentially broadening their customer base. It offers both automatic and manual translation of words, URLs, Meta titles, and descriptions, and supports different images for each language for SEO. The bonus is that you can manage the translations directly from Shopify admin and the app is officially created by Shopify.
PROS AND CONS OF USING TRANSLATE AND ADAPT
PROS
- One click installation
- Natively developed by Shopify
- Easily accessible through Shopify Admin
- Side by side editor
CONS
- Bare bones UI and UX
- Translation can take a while
- Cannot automatically translate subscription widget
HOW TO INSTALL
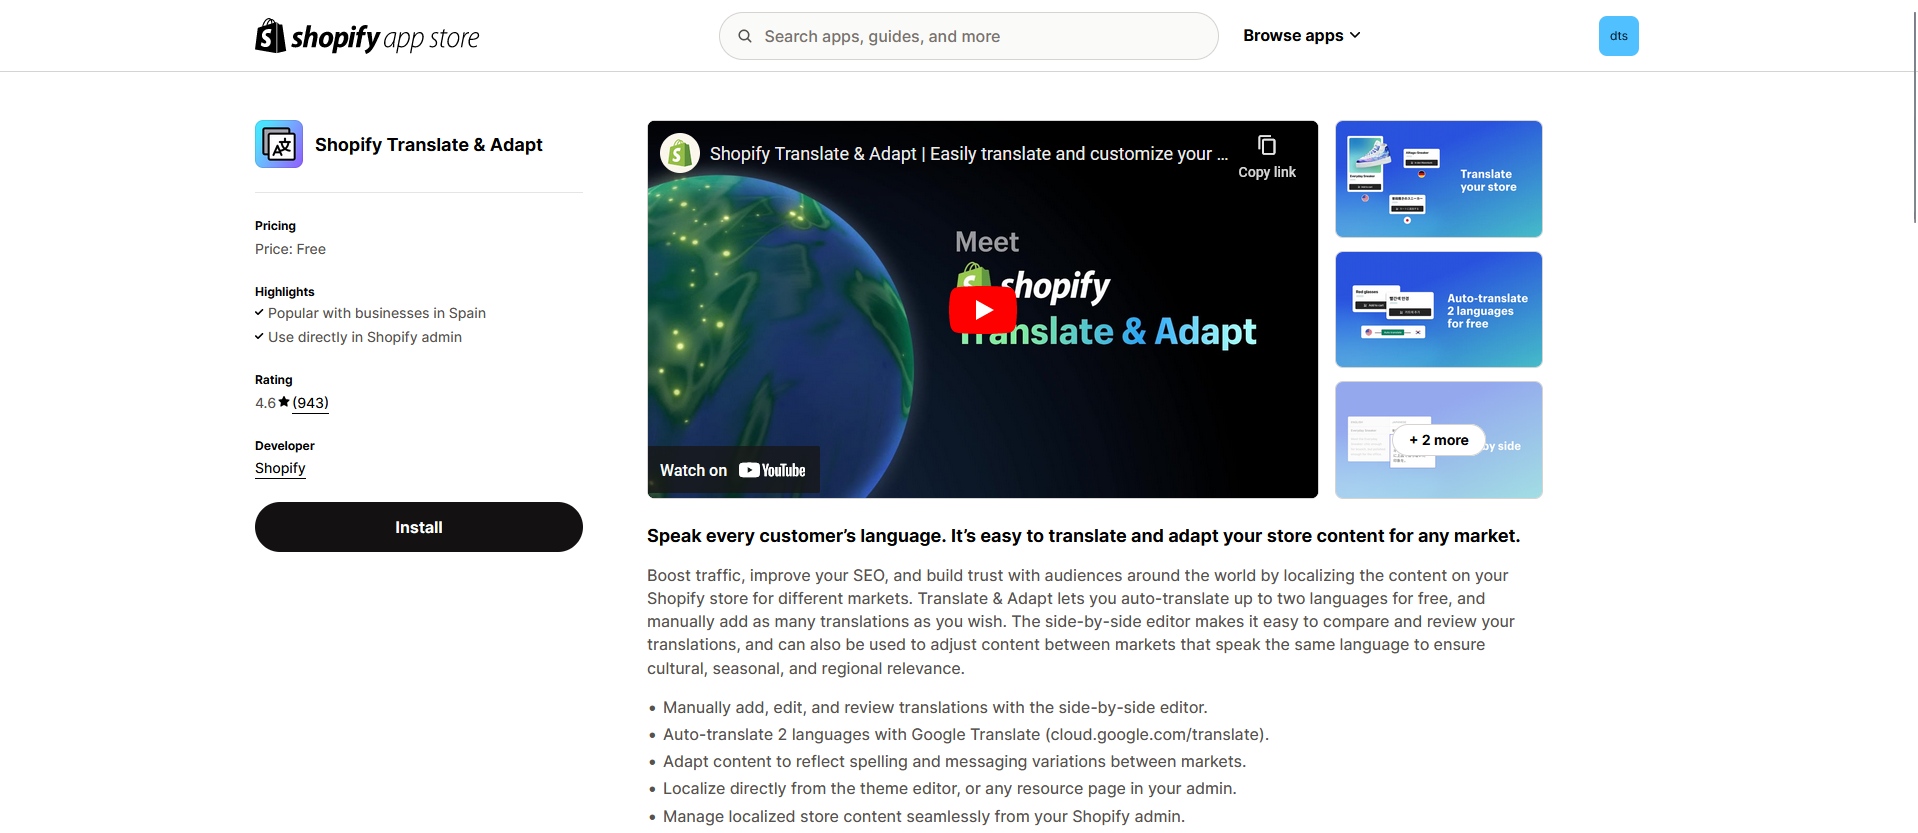
1. Find Shopify Translate & Adapt in the Shopify App Store
Open Shopify App store and search for Shopify Translate & Adapt
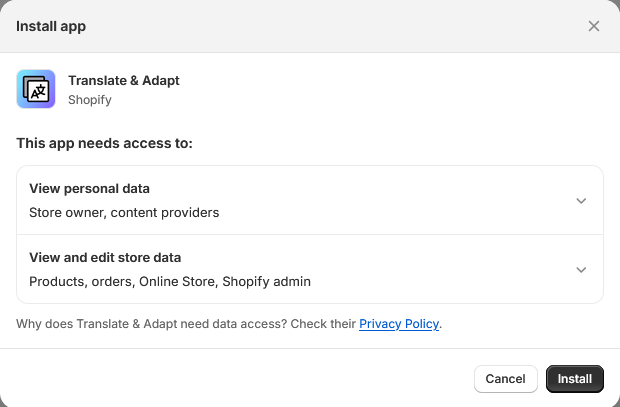
2. Installing the app
On the Shopify store, click install and install again, once a new window opens up.
3. Done!
That's it! You've now successfully installed the Translate & Adapt app.
HOW TO TRANSLATE SEAL SUBSCRIPTIONS USING TRANSLATE AND ADAPT
While apps like Weglot automatically translate your whole store, some people might not like that. Using Shopify's Translate & Adapt, you can translate only certain parts of your widget / store.
IMPORTANT: Before you begin the translation process, make sure you manually install the widget in your store. You can find a guide on doing so here.
Here's how you can translate using Translate&Adapt:
- Open Shopify Admin.
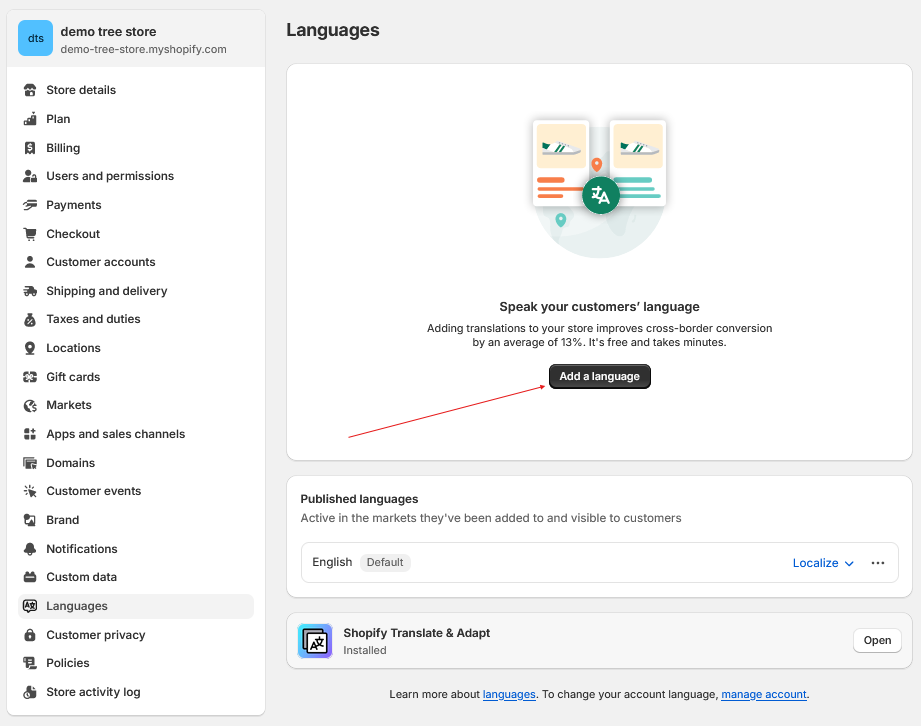
- Go to Settings > Languages and click on “Add a Language”.
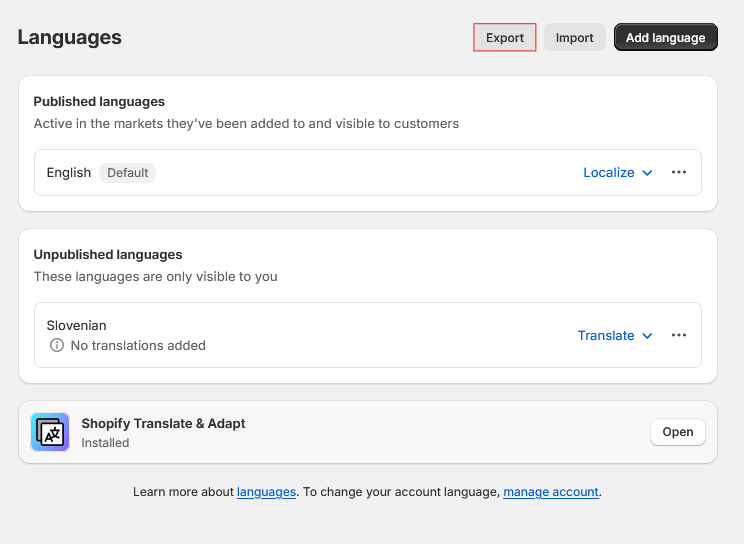
- Next, click on export and you will receive a .CSV file via email.
- Open the .CSV file in your desired spreadsheet editor.
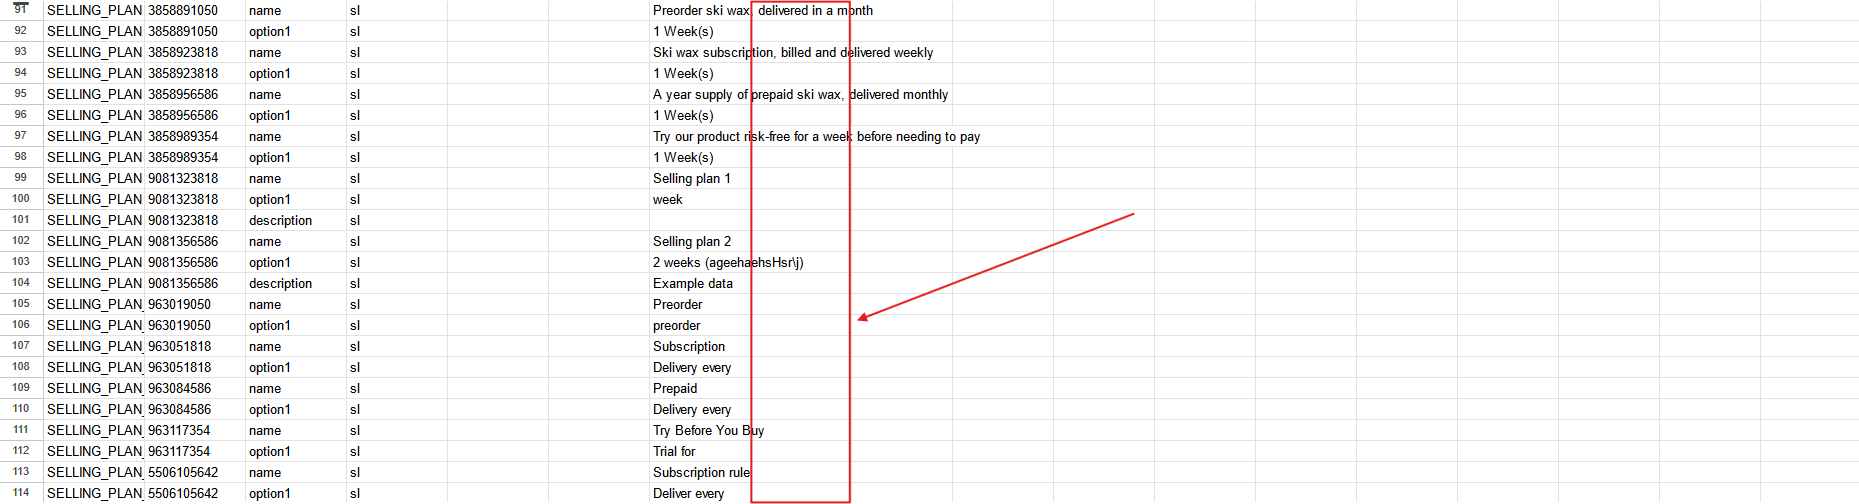
- Find the “SELLING_PLAN” sections and start editing the text on the right side to your desired language. (Enter the translated text in the red highlighted column)
- Save and import it back into your Shopify store, by going into: Shopify Admin > Settings > Languages > Import.
- That's it, you have successfully translated our widget!
OTHER TRANSLATIONS
If you chose to do so, you can also translate other elements in your page using Shopify Translate & Adapt. After selecting an additional language for your store, you can use the auto translate function to translate other parts of your store:
- Open the app
- Click on “Auto-translate”
- A loading bar will appear, informing you that the translation is now in progress

- After the translation is complete, you can view your translated store, by entering /COUNTRYNAME at the end of the url. For example: https://demo-tree-store.myshopify.com/sl
Langify
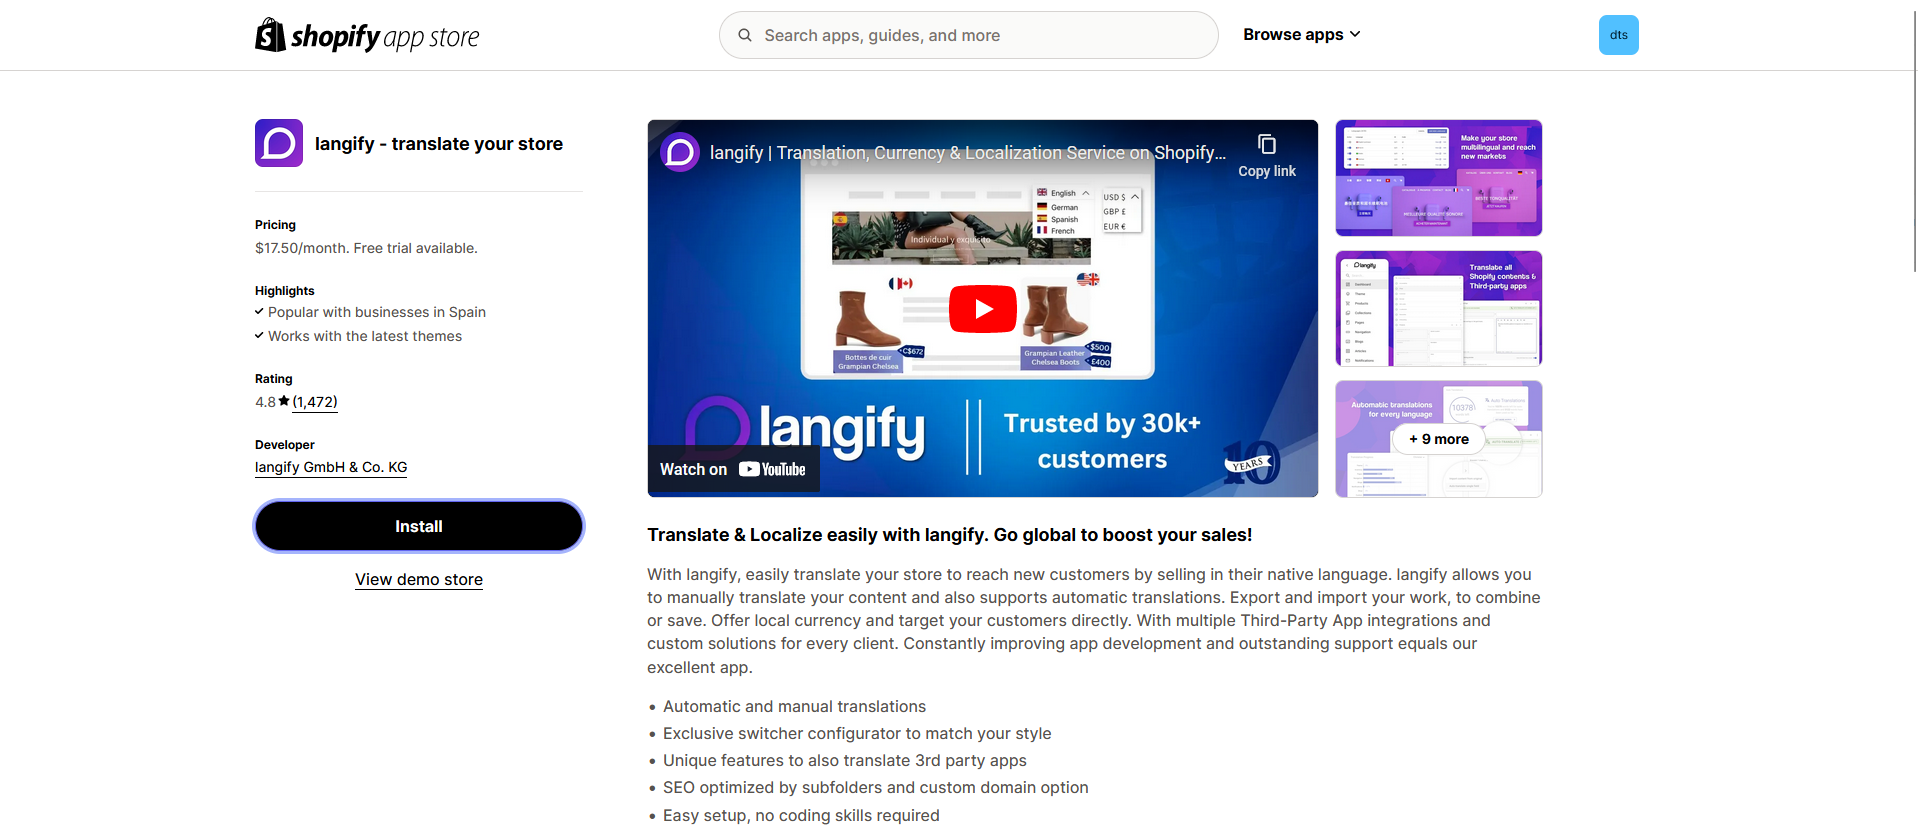
Langify allows you to manually translate your content and also supports automatic translations.The app offers local currency and target your customers directly. Also with great Third-Party App integrations and custom solutions. With more than 10 years on the market, Langify is also pretty popular among Shopify merchants.
PROS AND CONS OF USING LANGIFY
PROS
- Simple and easy installation
- Can translate specific elements of even the most advanced custom apps
- Automatic SEO optimization for translated languages
- No coding required, but offers extensive CSS customization options
CONS
- Payment info require for free trial
- 3rd party website, no native Shopify Admin support
- No free plan available
HOW TO INSTALL
1. Shopify app store
Firstly, install the app via the Shopify app store.
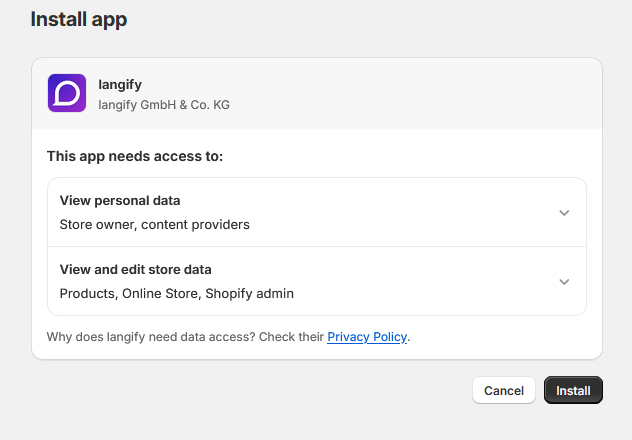
2. Install the app to your Shopify Admin
On the next screen, simply click “Install” again and the app has been successfully installed to your store.
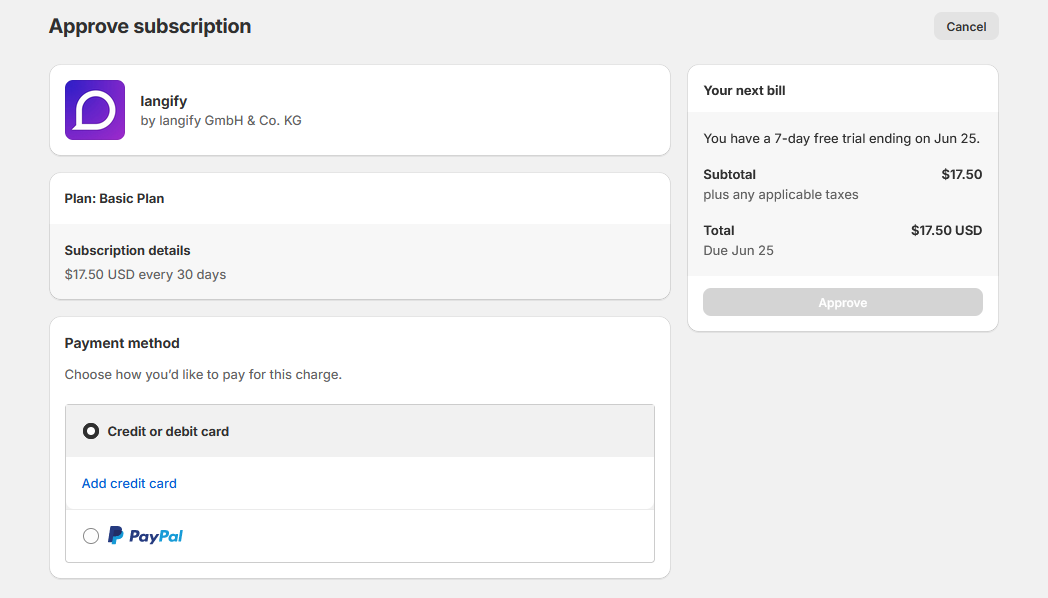
3. Payment information
You need to provide your payment info to start a 7-day free trial at this stage.
4. Done!
You are done! Though, the app is not activated in your store. Follow the next steps to learn how to translate your store / subscription widget.
ENABLE LANGIFY IN YOUR THEME
Using Langify is our opinion the best way to translate only the widget, while keeping everything else untouched, It also doesn't have any compatibility issues with other apps in this case. There are some additional steps you need to take in the app to make it ready to use first, though.
Follow these instructions to get the app ready for translations:
- Click on “Add new language” and select the desired translation language.
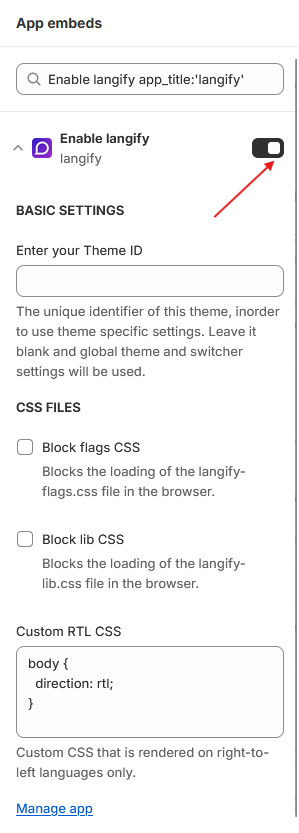
- Make sure you enable it by clicking on the switch.

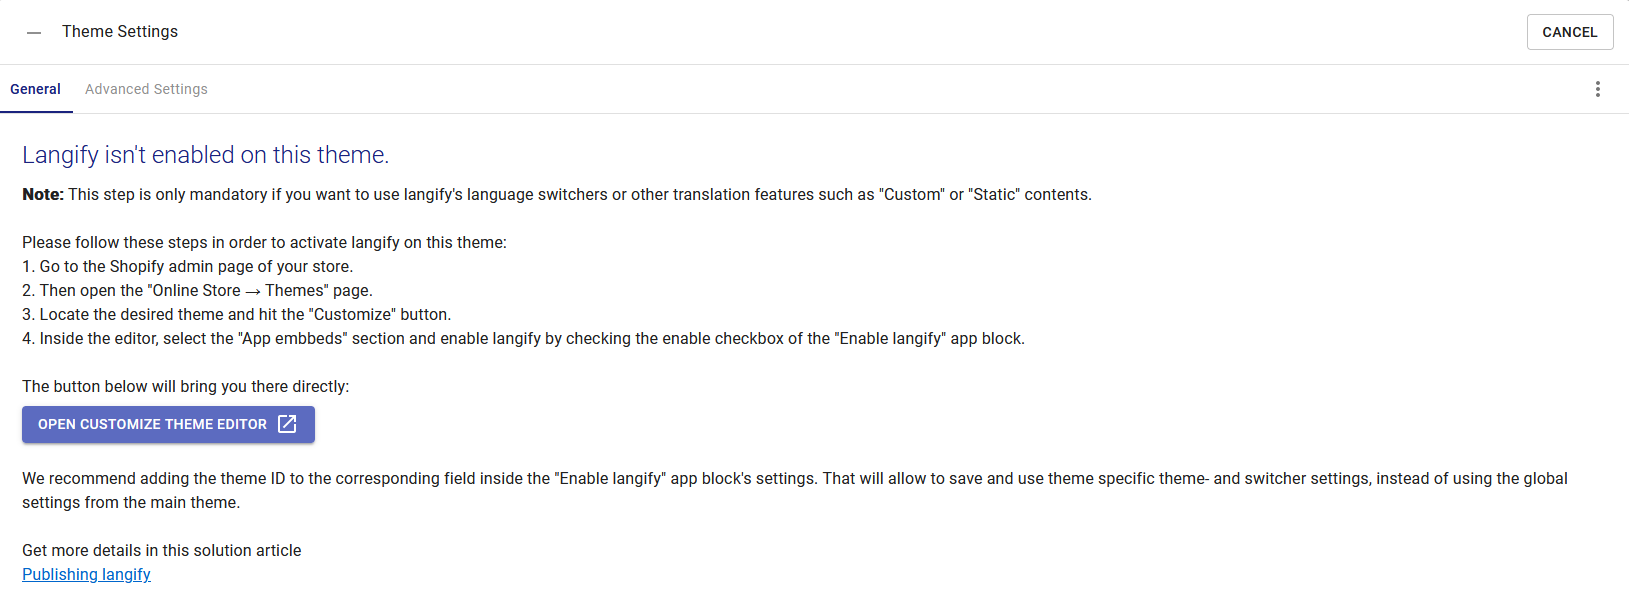
- Enable Langify in your theme, by clicking on “Theme settings” and follow the instructions on screen.
- Embed the app in your Shopify store.
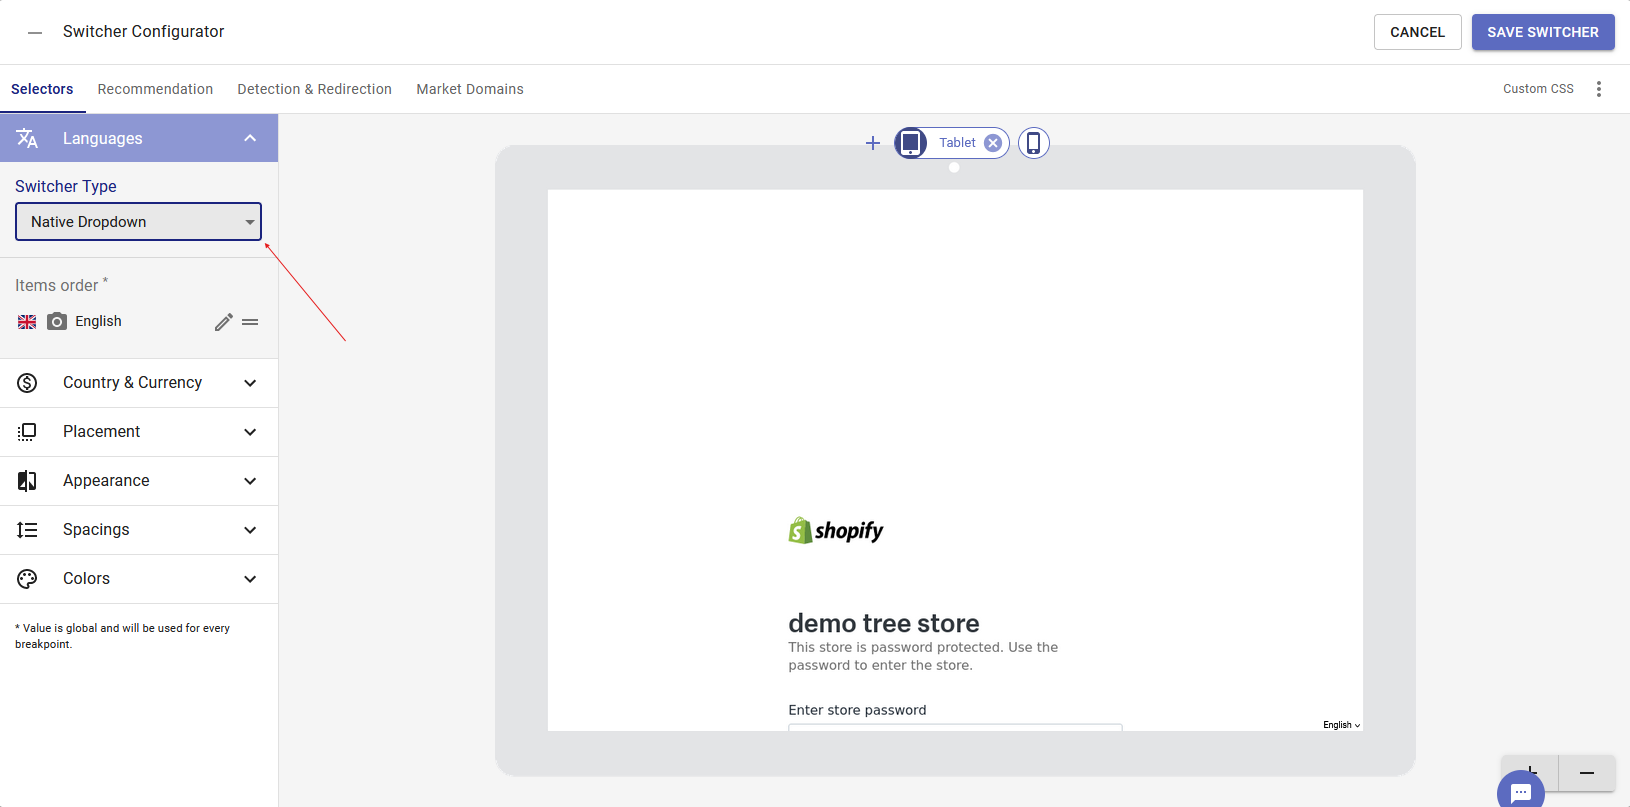
- Set up a language switcher, so your customers can switch between languages and access the translations. (We used the simple Native Dropdown, but you can customize it to your liking.)
- Save changes and you are done!
TRANSLATE SEAL SUBSCRIPTIONS USING LANGIFY
Finally, we get to the stage, where we can translate Seal Subscriptions and it's subscription widget. Since the subscription widget text is entered manually by the user, it's a bit harder to translate using normal means, but using Langify might prove to be the most effective.
Here's how you translate the subscription widget of our app:
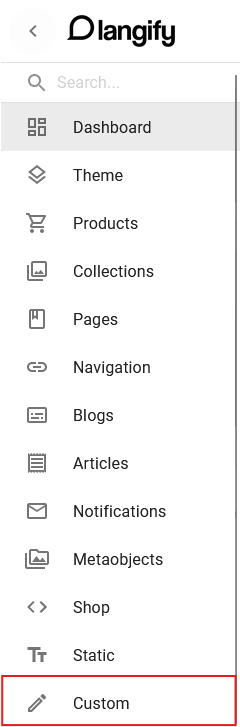
- Go to the Langify homepage and click on “Custom.”
- Click on “Product pages” and than select “Add new custom content.”

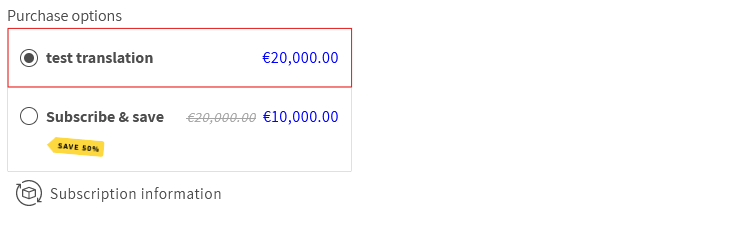
- Enter the text you want to translate, for example: One time purchase.
- A new window will appear, where you can compare your translations side-by-side. Enter the translated text on the right.

- Repeat this for all the elements you'd like to translate.
- Save changes and you are finished!
- You can check out how it looks on your store, by opening a product page with a subscription rule active and using the switcher to select the translated language.
Conclusion
We've reached the conclusion of this article. To recap: Catering to customers in their native language is crucial for global businesses. Translating your store’s content can significantly boost sales by ensuring that international customers understand your marketing messages, product details, shipping policies, and return procedures. The article provides a step-by-step guide for translating text within the Seal Subscriptions app, along with other useful translations of your online store.
Using Weglot to translate is the most straight forward, as it automatically translates your entire store. Though some users might not like that and the automatic translations are not always accurate, you can instead use apps like Shopify's Translate & Adapt, which is mostly free, but is lackluster in the UI department + the procedure to translate the subscription widget might be to cumbersome for some people. Langify is the best of both worlds, but does not offer a free plan and doesn't support native Shopify Admin settings, it opens in a new window.
This should cover most of what you'd need to know to translate our Seal Subscriptions, but if you run into any issues or need further assistance with setting this up, do not hesitate to reach out to us at: support@sealsubscriptions.com.